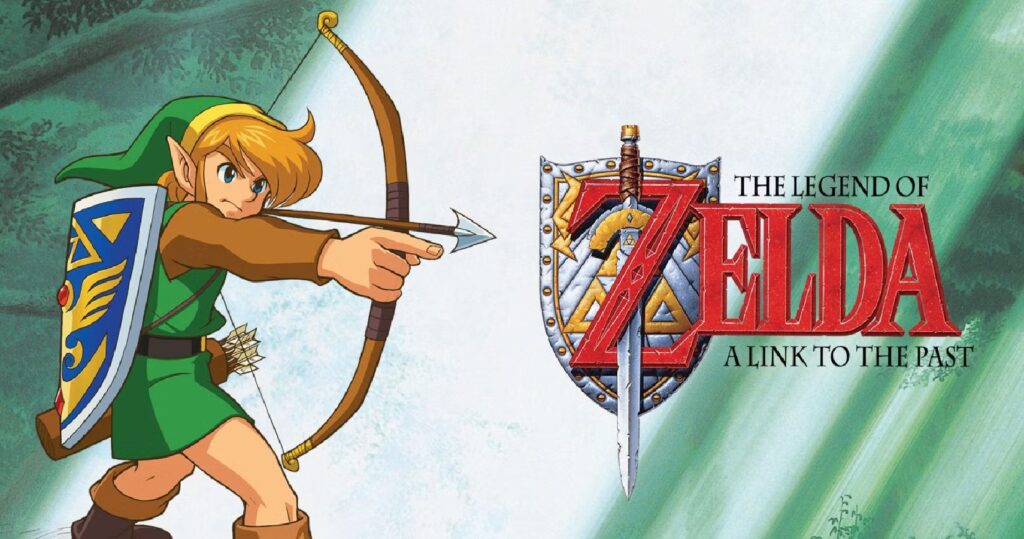
The Legend of Zelda has been keeping the hearts of gamers worldwide busy and fascinated by its games in the genre ever since the forties, and among the world-known titles, A Link to the Past remains to be one of the evergreens. Published in 1991 on the Super Nintendo Entertainment system (SNES) this adventure took gamers through a highly textured world, a two-layer concept, and some of the most memorable dungeons ever seen in games.
This A Link to the Past Walkthrough is an invaluable guide to absolutely every boss, every item and every secret to be found. The guide present will guide you through all the crucial game processes, from the ones you have done for the first time playing the game to the ones you have previously experienced as a returning game-hero.
The Beginning – A Call to Destiny
Our A Link to the Past Walkthrough starts out on a dark and stormy night. There is an unknown telepathic visit by Princess Zelda summoning Link to her aid. After creeping into the Hyrule castle, Link discovers his uncle injured, after which he receives his uncle’s sword and shield. This is how his famous adventure to rescue Hyrule starts.
Early parts of this Zelda A link to the Past walkthrough aim at getting the gamer acquainted with the controls, sword-fighting, puzzle-solving, and navigation. The castle itself brings significant features of the game mechanics, such as pressure plates, secret doors, and keys, the latter will come in handy during your adventure.
Light World Dungeons – The Pendants of Virtue
After Princess Zelda is rescued, Link is deployed to search the three Pendants of Virtue so that he can get the Master Sword. The initial part of the game consists of finishing these Light World dungeons.
- Eastern Palace – The arrangements here introduce multitudes of enemies and also your first real boss encounter against the Armos Knights. You will also learn to use Bow, with which you will have to finally kill enemies without going close to them.
- Desert Palace – In the southwest, Desert Palace involves traps in the form of sand, beamos, and mythical creatures Lanmolas. To get in, you will have to have the Book of Mudora.
- Tower of Hera – This tower rests on top of Death Mountain, the tower contains vertical puzzles and has a bothersome boss, Moldorm, who can also send you off the platforms.
During this segment of The Legend of Zelda: A Link to the Past Walkthrough, players are taught to think and learn multitasking, use items and wander through multileveled dungeons. In every dungeon, one will find a big key, a map, and a compass, which are very important in clearing every dungeon.
The Master Sword and Transition to the Dark World
Once you have all the three pendants, you will go back to the Lost Woods to obtain the Master Sword. This scene is among the most recognizable of The Legend of Zelda series. An extra power and getting access to sealed magical barriers are things achieved with the sword.
Link heads back to Hyrule Castle to duel with a dark wizard by the name of Agahnim. After you beat him, you get taken to the Dark World, which is actually a cursed mirror of the Hyrule world and the true challenge starts here.
It is a calamity which marks a major change in the Zelda: A Link to the Past Walkthrough, adding more difficult enemies, more compound dungeons, and using Magic Mirror – an important item used to go to Light and Dark Worlds.
Dark World Dungeons – The Crystals of the Maidens
In the Dark World, Link’s goal is to rescue seven maidens trapped in seven corrupted dungeons. Each dungeon presents a unique layout, enemies, and critical items necessary for progressing.
- Dark Palace – Warp tiles and the Magic Hammer are introduced here. You’ll battle the Helmasaur King at the end.
- Swamp Palace – Water mechanics and the Hookshot come into play here. Make sure to drain the swamp in the Light World first.
- Skull Woods – A multi-entrance dungeon scattered throughout a haunted forest. The Fire Rod is required to defeat Mothula.
- Thieves’ Town – Set in the Village of Outcasts. Features a boss disguised as a captive maiden.
- Ice Palace – A slippery, confusing dungeon. Bring the Blue Mail and Fire Rod for extra safety.
- Misery Mire – Use the Ether Medallion to enter. Watch out for the Vitreous boss and numerous floor puzzles.
- Turtle Rock – A lava-filled labyrinth requiring the Cane of Somaria. You’ll face Trinexx, one of the hardest bosses in the game.
The A Link to the Past Walkthrough provides detailed directions, enemy tips, and item usage strategies for each dungeon, ensuring you never get stuck.
Essential Items and How to Use Them
During your adventure, Link gains a lot of items crucial to side missions as well as to main quests. In this Walkthrough of Zelda: A Link to the Past you learn how to acquire and appropriately utilise:
Magic Mirror- Sends you between worlds and assists you to get out of dungeons.
Hookshot – Allows Link to be pulled over distances and to snatch objects that are far off.
Fire Rod & Ice Rod – It is a puzzle-solving tool and boss fight tool.
Flippers- Permit swimming and entry into new map territories.
Pegasus boots– They help you cover short distances in a short period of time and also allow you to access the wall unhbridge.
Cane of Byrna & Cane of Somaria A tile assembly puzzle solving game, where you protect Link.
Moreover, this The Legend of Zelda: A Link to the Past Walkthrough will help you to use the Silver Arrows the weapon which is only capable of killing Ganon.
Side Quests and Hidden Secrets
Beyond the main storyline, there’s an incredible amount of optional content in The Legend of Zelda: A Link to the Past. This Alttp Walkthrough ensures you don’t miss:
- 24 Heart Pieces – Scattered in caves, under bridges, and behind puzzle walls.
- 4 Bottles – Used to store fairies, potions, and bees. They’re hidden in towns, mini-games, and caves.
- Magic Powder – Helpful for transforming enemies and solving minor puzzles.
- Bomb & Arrow Upgrades – Found in mysterious fountains that require rupee donations.
- The Chris Houlihan Room – A rare Easter egg room filled with rupees and an unforgettable message.
These additions enrich the experience and offer benefits for health, combat, and inventory management.
Final Challenges – Ganon’s Tower and the Pyramid of Power
After saving all the maidens, Ganon Tower opens up. It is a massive multi-level dungeon with mini-bosses, trap areas, and narrow puzzles. Having defeated Agahnim once more you will enter the Pyramid of Power where you will finally face Ganon.
In this part, you are going to need your best gears, which are Master Sword, Silver Arrows, and a steady hand. Ganon teleports, creates falls on the floor and has to be unveiled by making fire torches. By winning you get the peace of Hyrule Item and the pleasure of finishing a real classic.
The Walkthrough of Zelda: A Link to the Past is covered with this dramatic battle and yet the memory of the travel will engrave on your memory.
Why This Walkthrough Matters
A Link to the Past is not only a game but a growing up experience to many Fans of The Legend of Zelda. A Link to the Past is a game rich in options, deep and intricate by design, which is why this walkthrough adds order, planning, and direction to this state of affairs. This guide has you covered no matter what is your style and rhythm of playing the game: whether you are a speedrunner or a casual player, you will have a nice and complete experience.
Since your world was roiled in the storm at the very beginning up to the defeat of Ganon, may this Zelda A Link to the Past Walkthrough be your guide through the darkness.